This post may contain affiliate links. Please read our disclosure policy for details here.
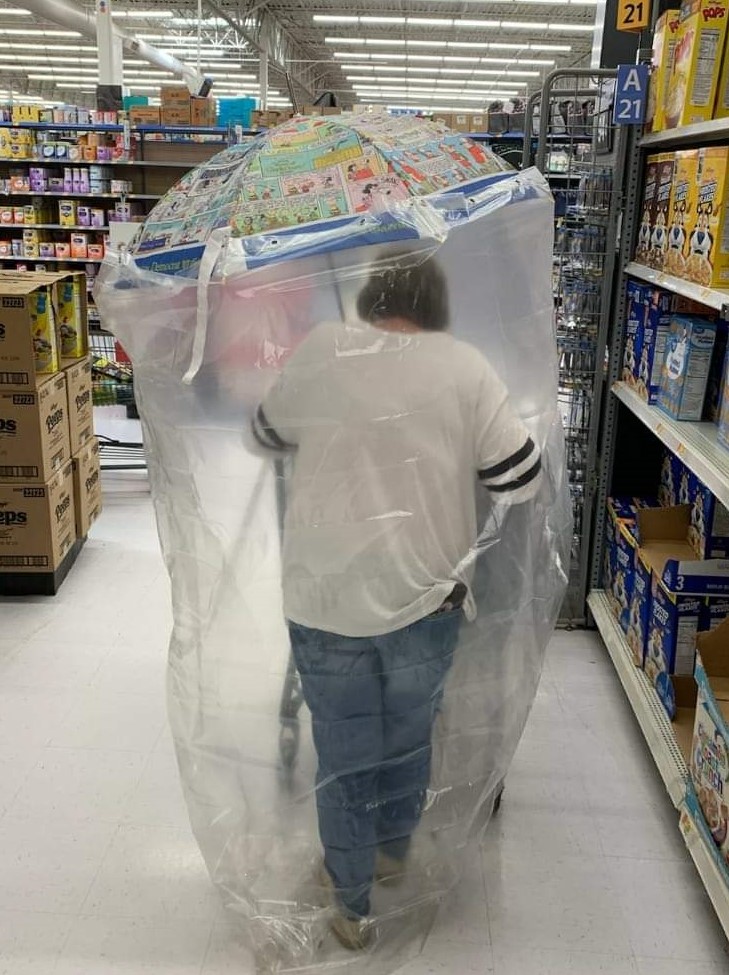
2020 is a year most people will not forget…but many would like to. History will proclaim it as the year the pandemic hit. A run on toilet paper, masks (of many types), virtual school, six-feet apart social distancing, and stay-at-home orders was just the tip of the iceberg. My husband Gene and I however, proclaimed it a year of big changes…with many, many blessings.

Upgrade and Remodel
We have been full-time RVers since mid-year 2018. It was an oddity that we ended up full-time! (You can read about how that happened here.) In a nutshell, we lived in a 26-foot motorhome we dubbed the “bus” and owned one vehicle. That old vehicle, that my husband loved, had 222,000 miles on it! Our grandson liked the fact that he could roll the windows down with a hand crank. Ha! It was not the sharpish thing to look at, but it was dependable.
Our goal when we began full-time was to save money for an upgrade to the RV and eventually the vehicle. We try to follow the principle that if you don’t have the money for it, you don’t go into debt to buy it. Not the easiest thing when our society seems to cry out for instant gratification…but so far, so good!
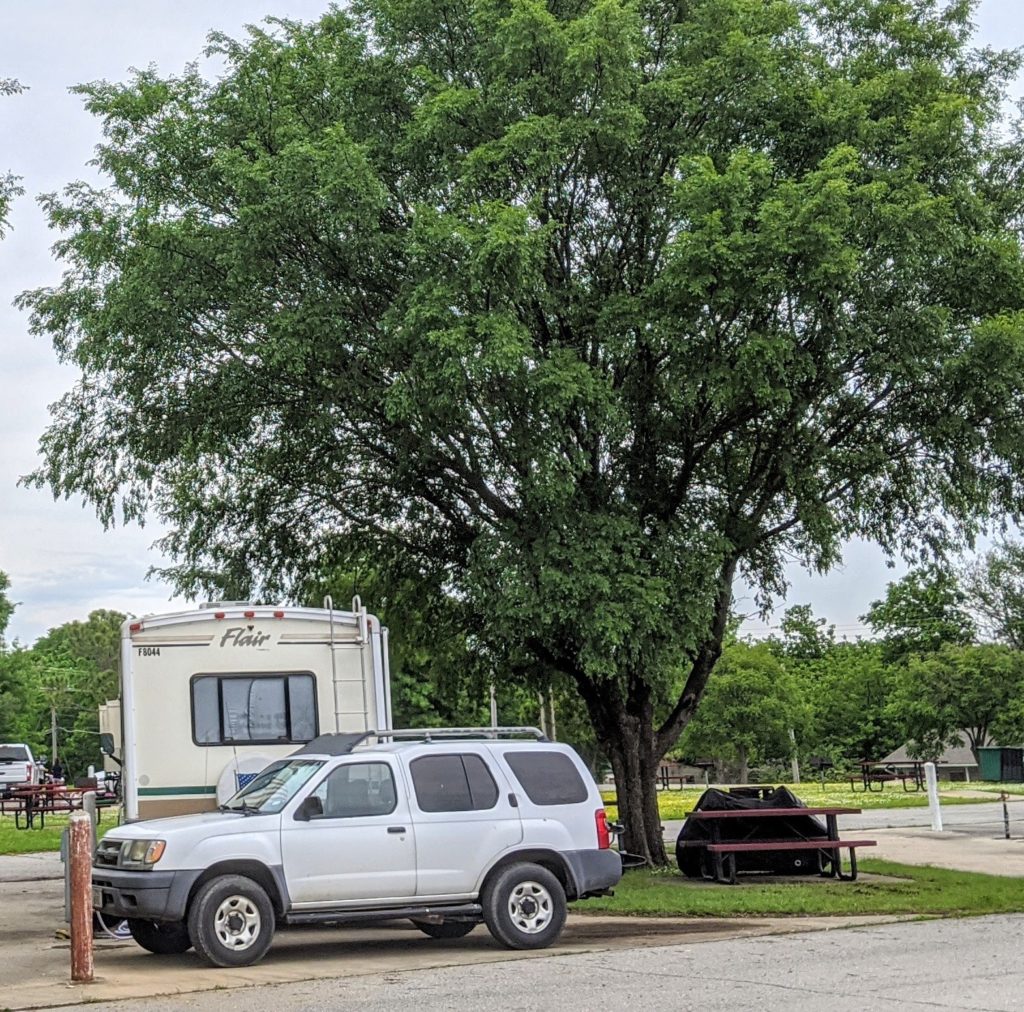
From a distance, the high-mileage vehicle doesn’t look too bad! I may, or may not, have used white spray paint to cover the missing paint patches on it though. My son, the car guy, was probably embarrassed but we did not discuss it. 🙂
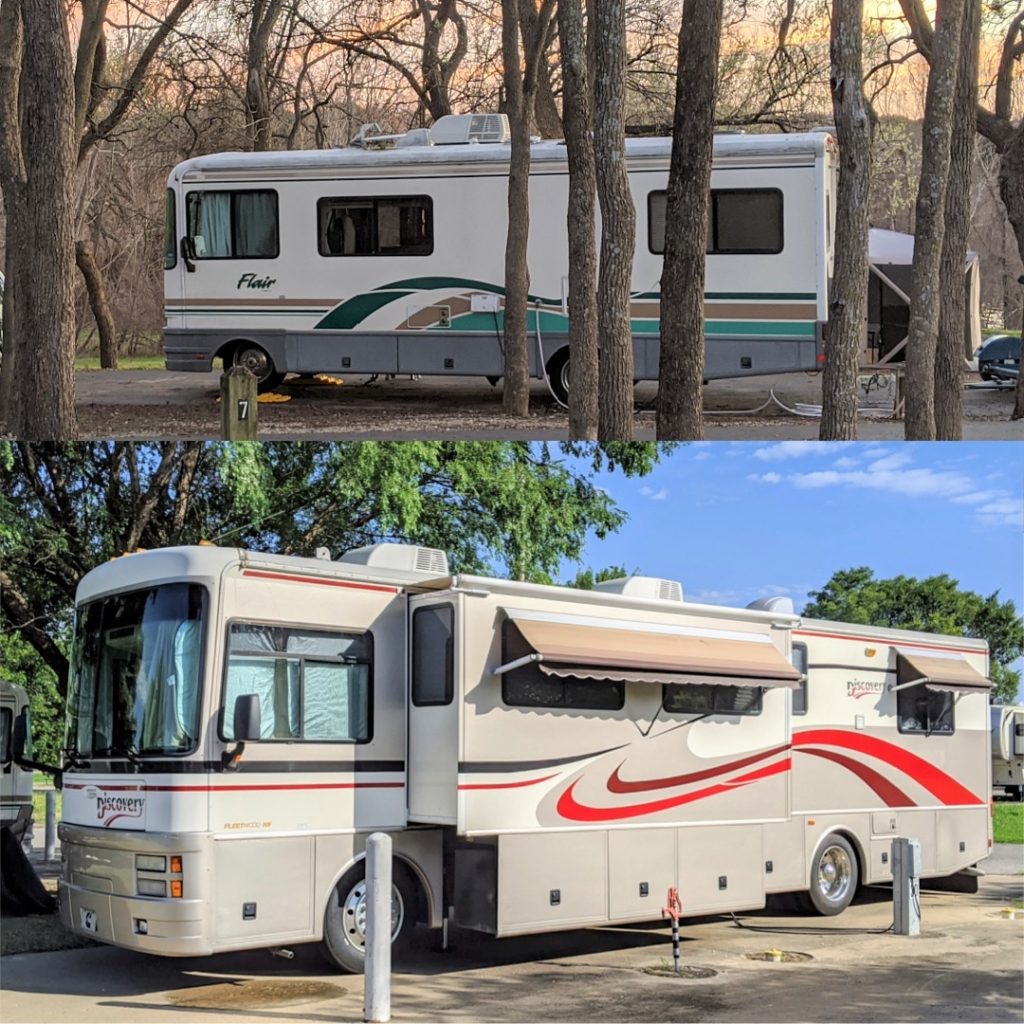
We spent seven months during 2020 in two different RV parks in small communities in northeastern Oklahoma. We were able in August to find a super deal on a 37-foot diesel pusher we now dub the “big bus”! What a blessing!
In the picture above, we parked the big bus in the space to the right of the baby bus. We worked out a reasonable deal for the space so I could begin the remodel while still living in the baby bus. (Get ready for lots of pictures!)
Gene and I worked together remodeling on our first RV (e.g. replaced carpet with flooring, painted, added backsplash, and Gene even re-surfaced the roof). This time around Gene was working. He is an insurance adjuster and the catastrophic claims from weather around the country were coming in. It was required that he work 12 hour days, 7 days a week! That sure did give me plenty of time to remodel. 🙂
I started by removing two mirrors in the kitchen and in the bedroom, both being used as backsplash. I put masking tape on the mirrors (thank goodness!) and pried them off the wall. But not without breakage! If you decide to attempt mirror removal, please wear gloves!
It was on to painting cabinets. This is not for the faint of heart! Actually, it’s not hard, it just requires a lot of patience…and time. I removed all the cabinet doors, drawers, and took off all the gold hardware to replace. Cabinet painting took me a week with constant reminders to myself to take it slow. I was thankful the weather cooperated.
Most of the painting was completed outside on the picnic table. The only snaffle was the day we had high winds and the maintenance worker was mowing the lawn. The little debris alighting on the almost-dry cabinets could have been a real disaster!
You can see the backsplash mirrors in the following pictures.
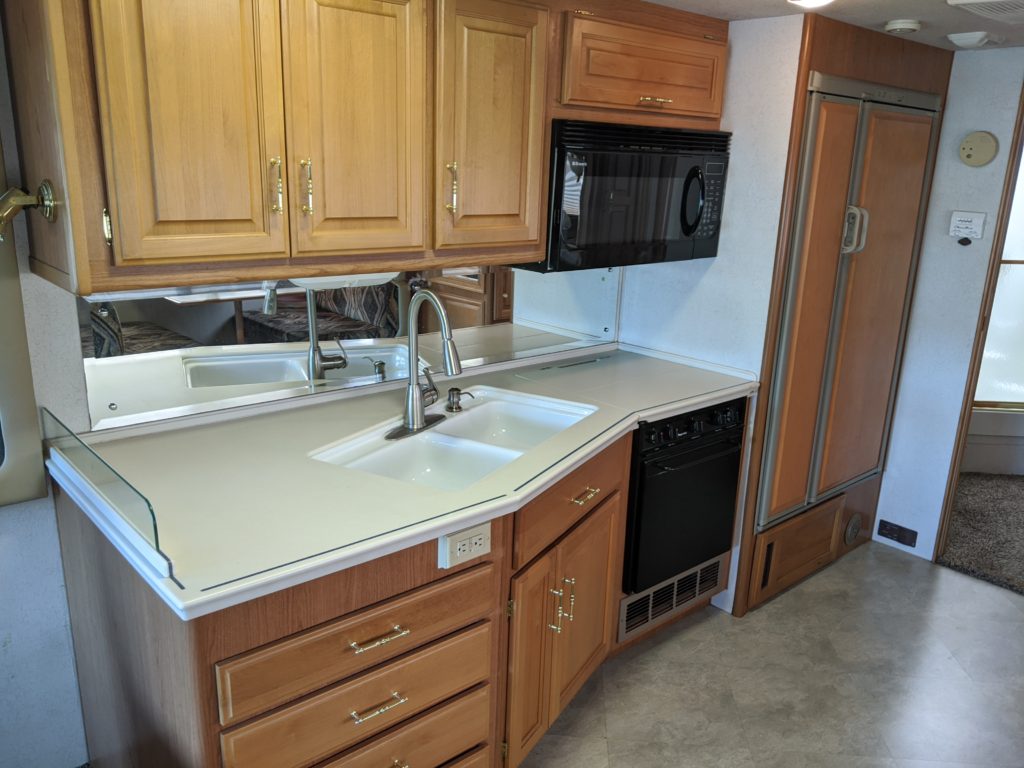
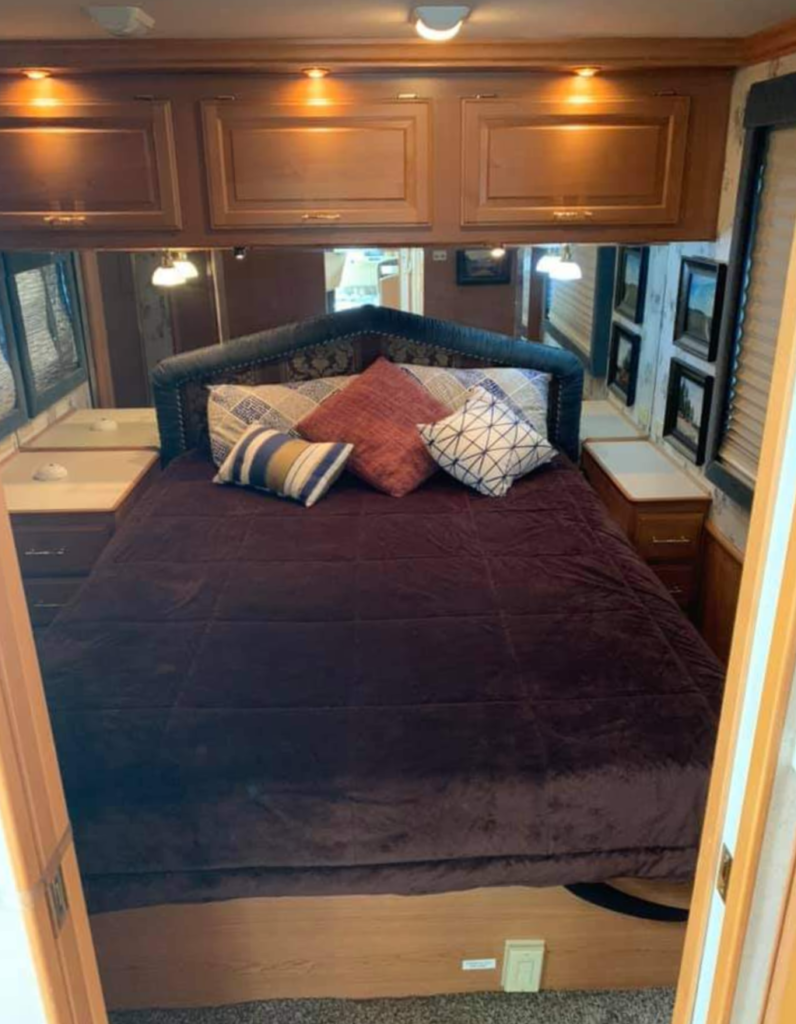
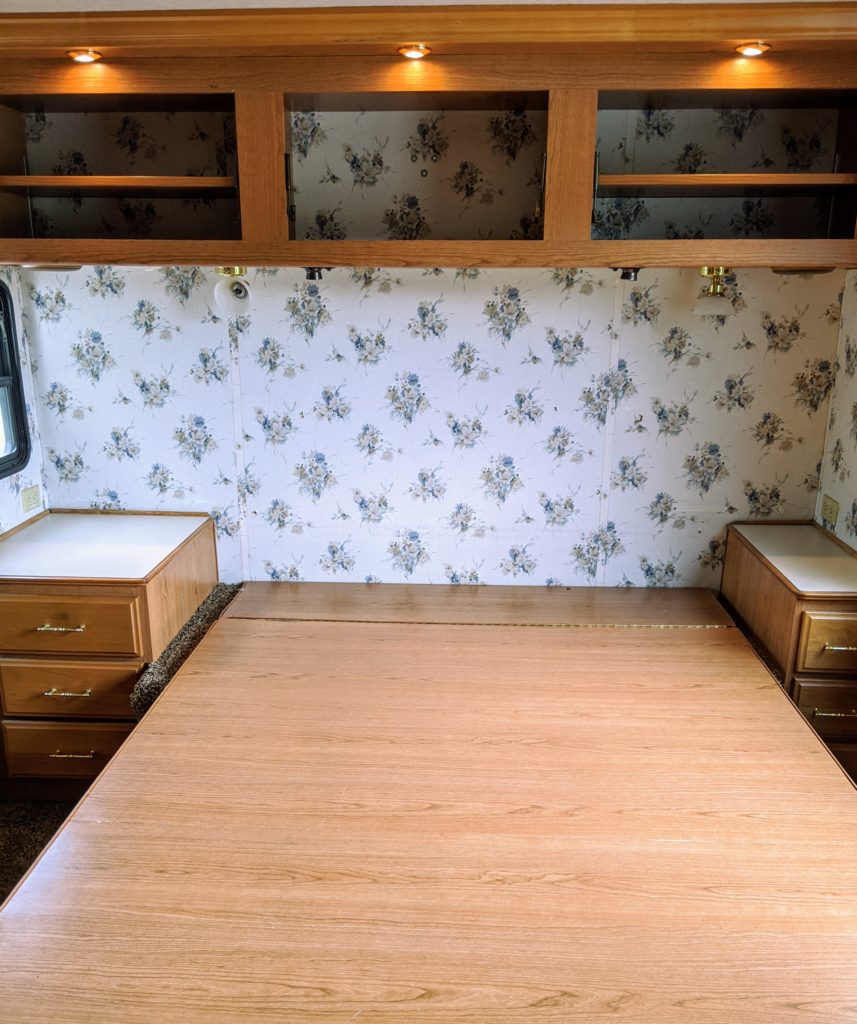
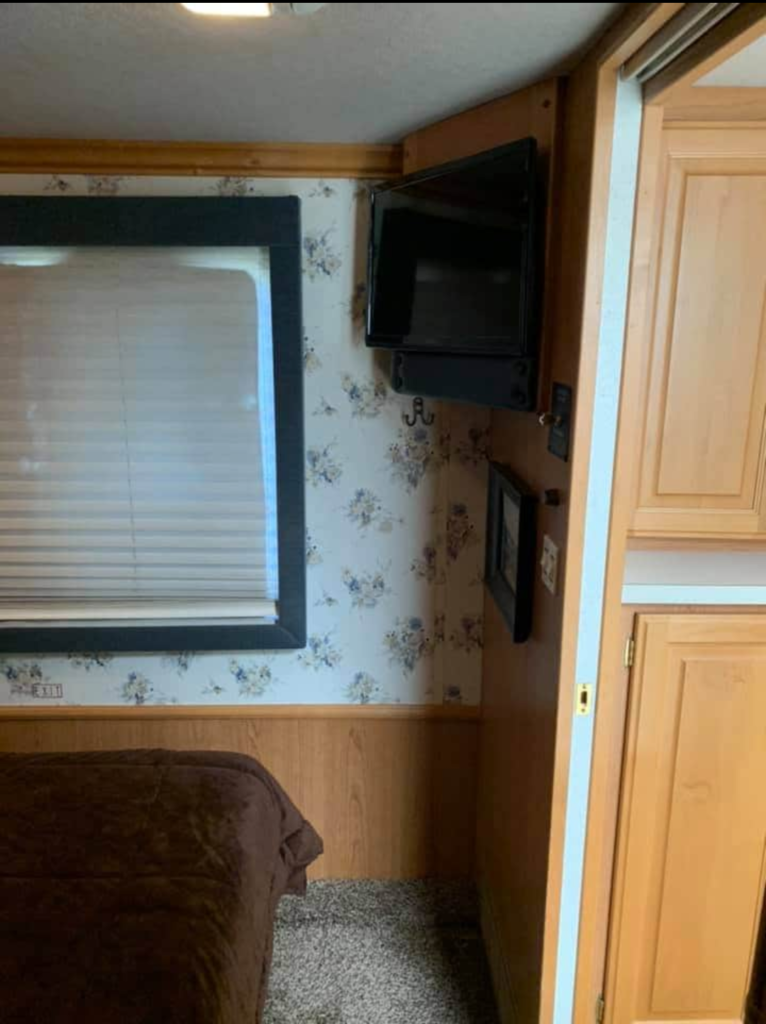
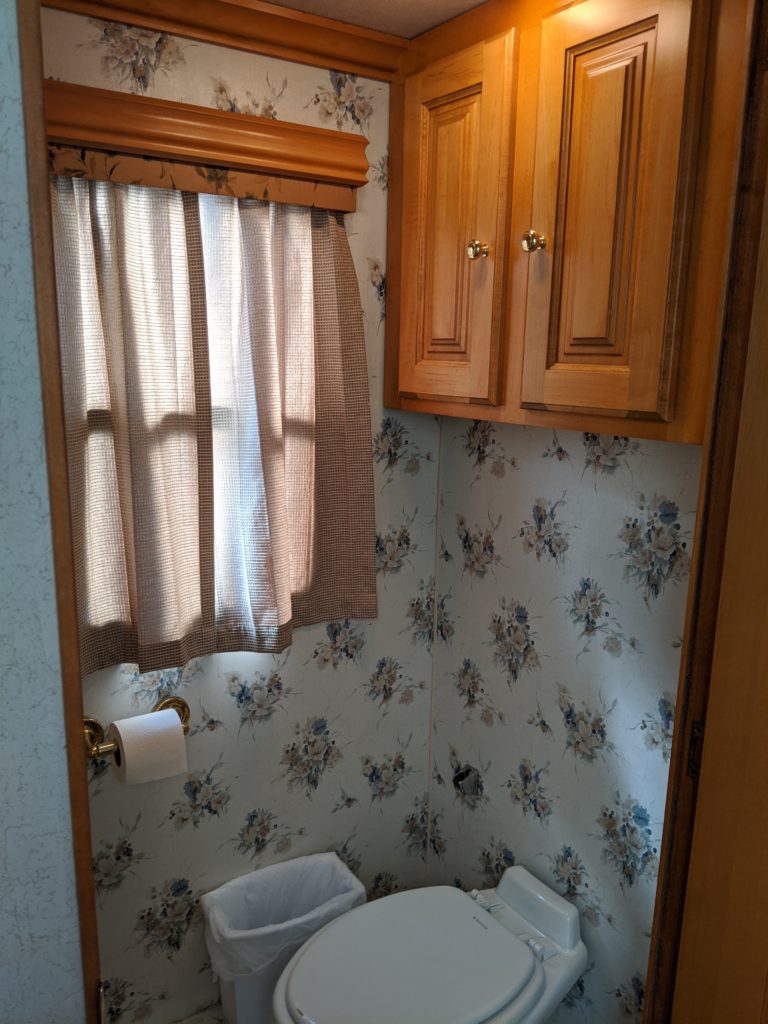
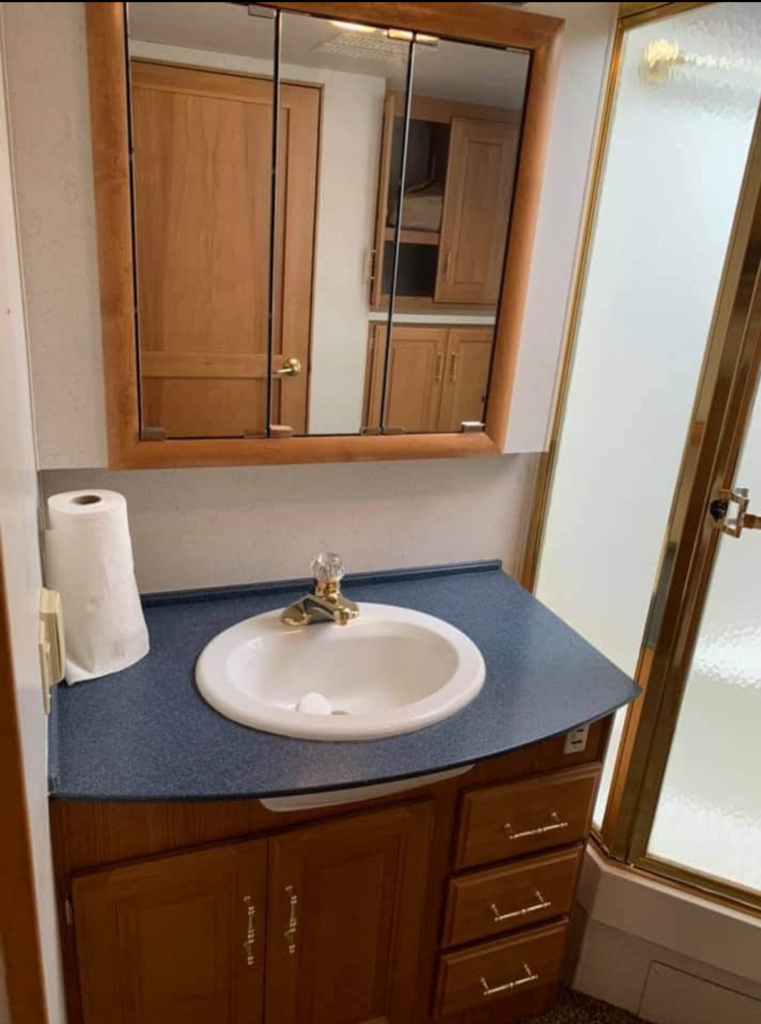
See the lovely blue flowers that were under the mirror backsplash? The blue flower walls extended into the bathroom and shower area as well. The poor flowers had to go! 😉
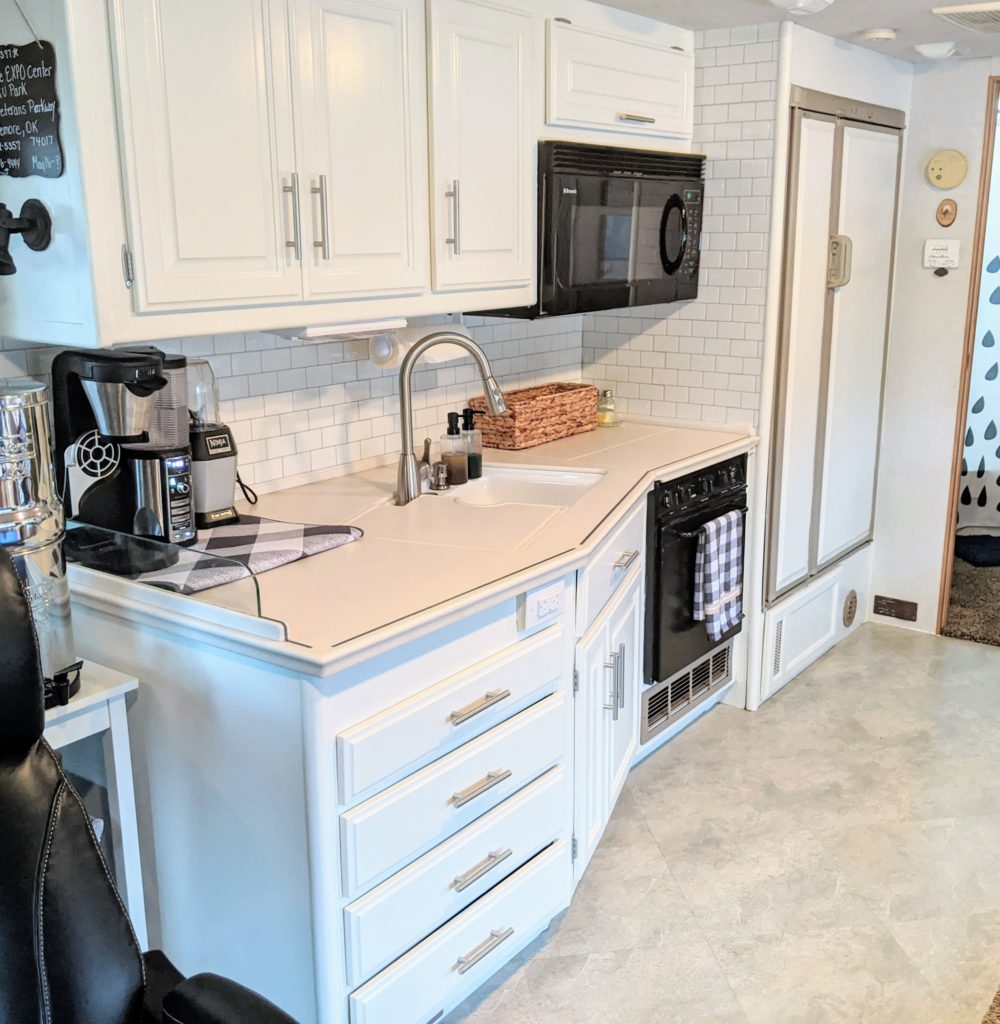
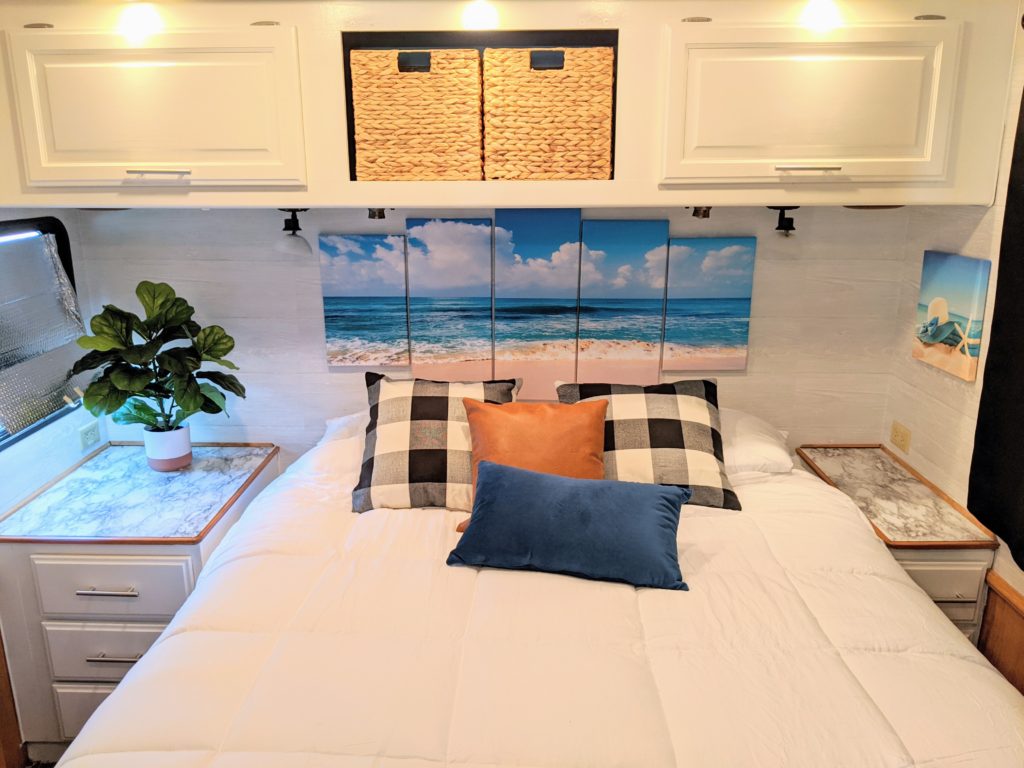
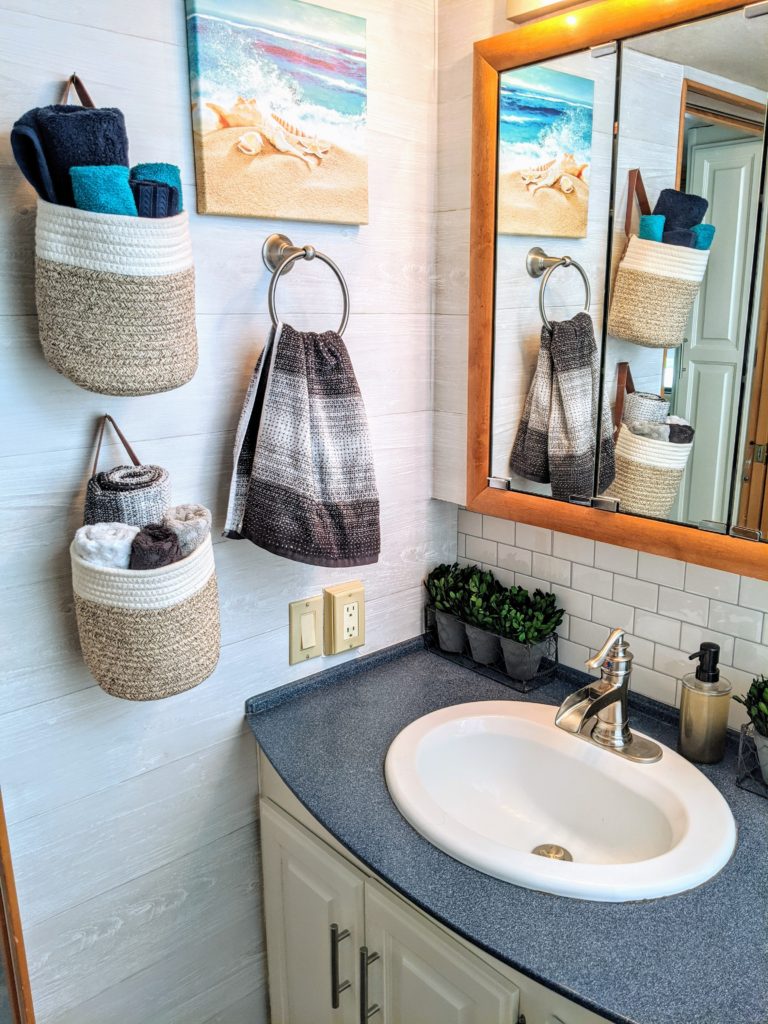
Here are the “after” pictures. The kitchen backsplash is peel and stick subway tile design. I used similar peel and stick in the “baby bus” and it held up well with seasonal temperature changes and being near the heat of the stove.
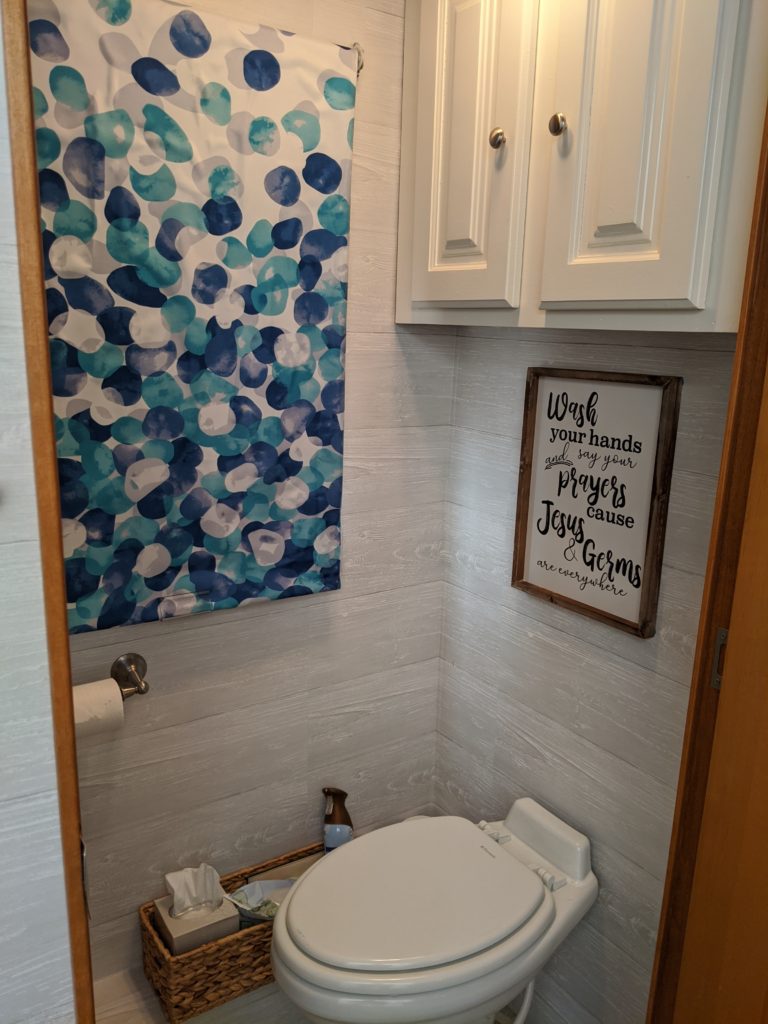
The blue flowers were covered using shiplap peel and stick. I splurged on six rolls of the shiplap wallpaper and I am glad I did. It was heavy enough to cover the blue flowers, it was very forgiving if placed wrong on the wall, plus I liked how it was textured to make it look more like real shiplap. (Per the reviews, make sure it is from the same lot number!) I covered the end tables in marble contact paper (also easy to remove and realign!) and lined the drawers with it also.
I left off one cabinet door above the bed to add the baskets (sold as a set of four). I found most all of the décor online. Pillow covers (buffalo plaid, cognac, and royal blue) plus wall hangings all online! The faux plant I did purchase at Kirkland’s a day when I took my husband to work so I could have the vehicle. The park office seemed to enjoy finding out what I was in our shipments and they were wonderful about delivering to our RV some of the packages. 🙂
Besides removing the mirrors, the other demolition I accomplished was tearing out the gold bathroom shower enclosure and removing the mirrored bedroom closet doors. I filled the dumpster that day with the help of the park hosts and their truck. They came along at just the right time!
To replace the shower enclosure, I found a curved shower rod that fit and a shower curtain that I fell in love with. I wasn’t sure about closet doors going back up, so I put a curtain rod and another shower curtain in the bedroom for now. (No pictures of the bedroom closet. I guess I’m still thinking about those doors. 🙂
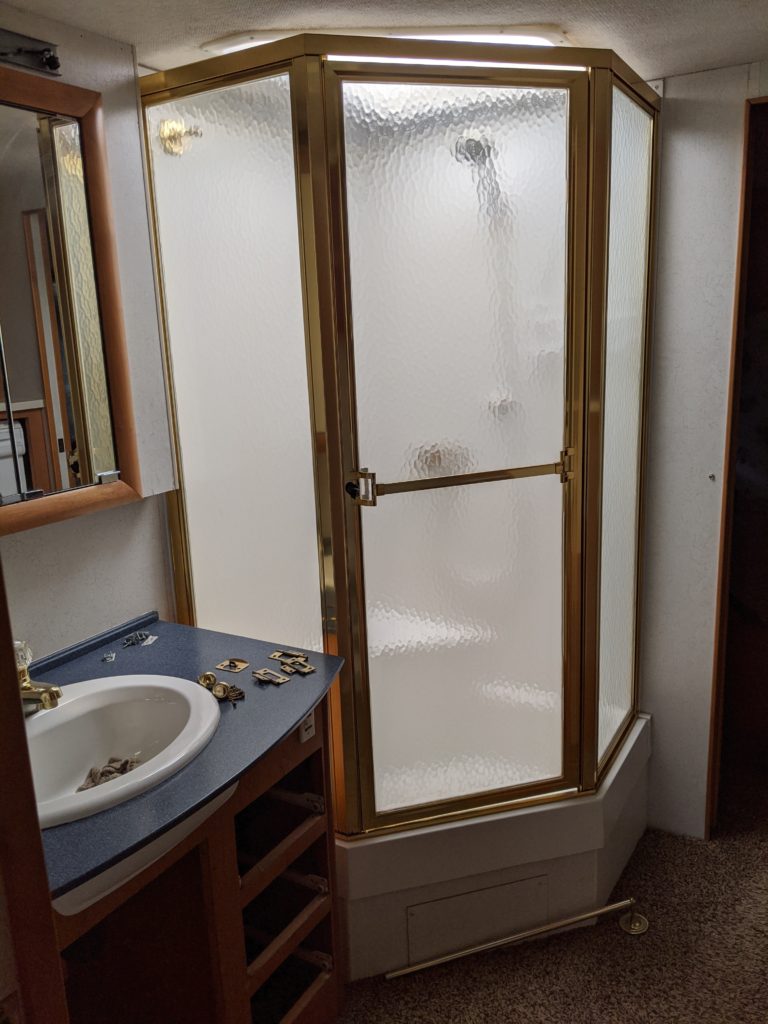
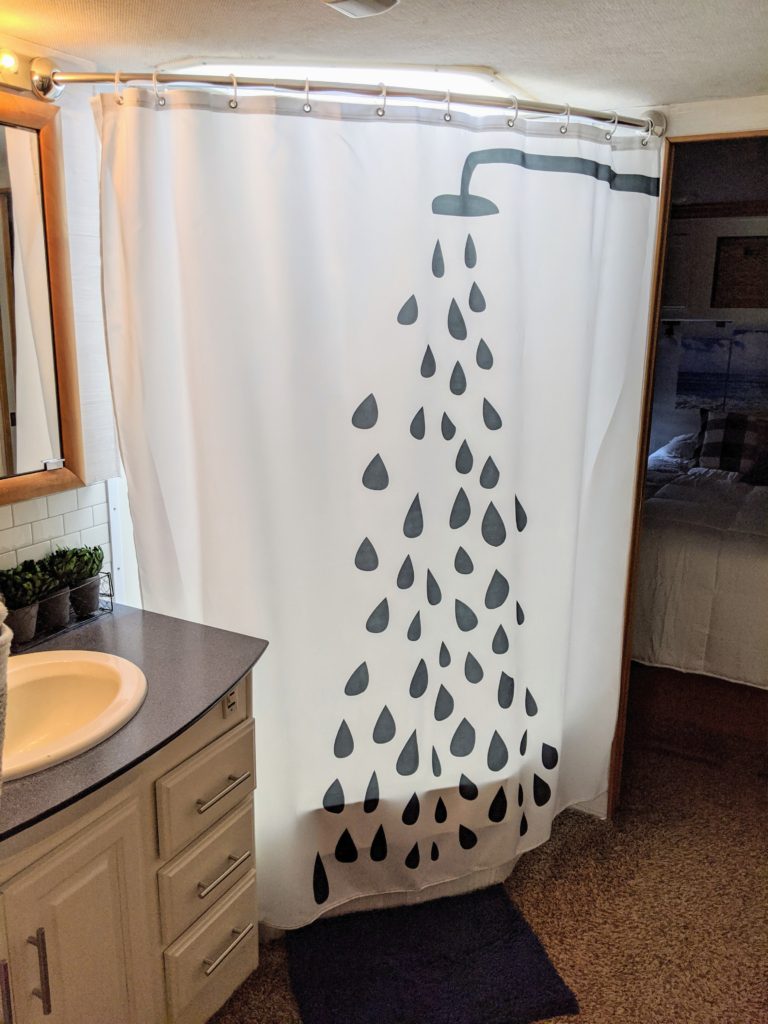
On to the rest of the bathroom area! I ordered a couple of shower curtains (returned two) until I found the one I liked for the shower. There were also a few trials finding the right bathroom curtain! All of them seemed too bulky for such a small space. I ended up mounting an inexpensive white roll shade to which I used spray adhesive to glue a shower curtain that I cut up…HA! I used the same shiplap wallpaper to hide the blue flowers, removed and replaced the gold hardware, and wa-lah!…the commode area was finished.
The sink area received a new brushed nickel waterfall faucet, the same wallpaper, subway tile backsplash (like in the kitchen), and painted cabinets. The baskets, pictures on the wall, plus the towel rack tend to overload that area design-wise; however, I wanted the extra space to store towels and washcloths. The practical side of me won. 🙂
Off to the office! Gene had the option to work from home if we (okay, me) found the space in our new-to-us rig. There was a recliner that came with the “big bus”, albeit old, that Gene really liked and wanted to keep. It was located under a huge window behind the passenger seat up front. I suggested a new desk chair that reclined plus an ottoman.
Gene then thought we could do both, drag the recliner out of the way when using the desk chair, or visa versa. *insert an incredulously baffled looking face from me here* The park hosts came by one day and I asked them if they wanted a recliner. HA! By the way, I didn’t traumatize my husband and I would not have given away the recliner if I thought he would be upset in any way. (We know each other well.) 🙂
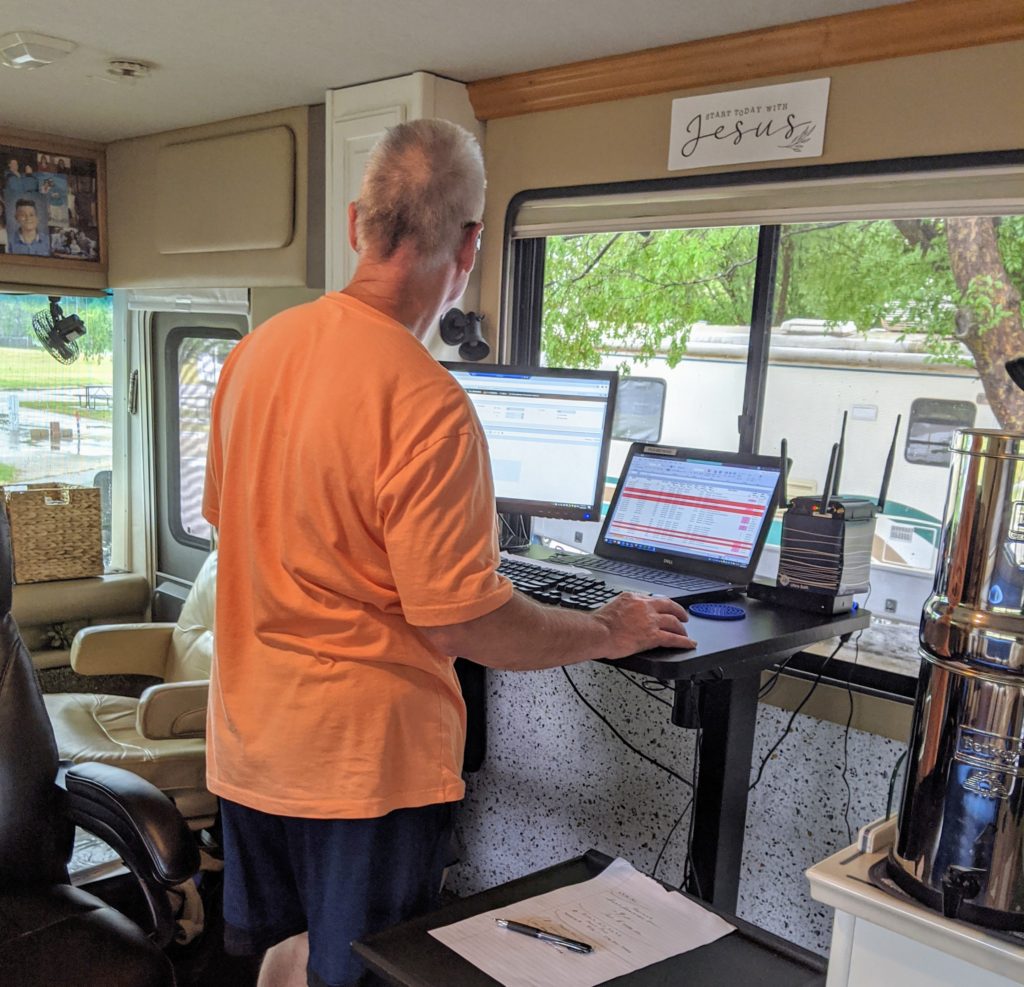
He spends a lot of time in his new high back chair and props his feet on the ottoman that seconds as file storage too. PLUS, the desk (rather pricey but wonderful if you spend extended hours sitting!) is height adjustable to sit or stand while working. It’s also very sturdy (aka heavy!). It was probably entertaining to any watching neighbors as I struggled to get that box in the rig! I put it together the first time and the desk raised on one side only…opps. On the second attempt, it now works like a charm.
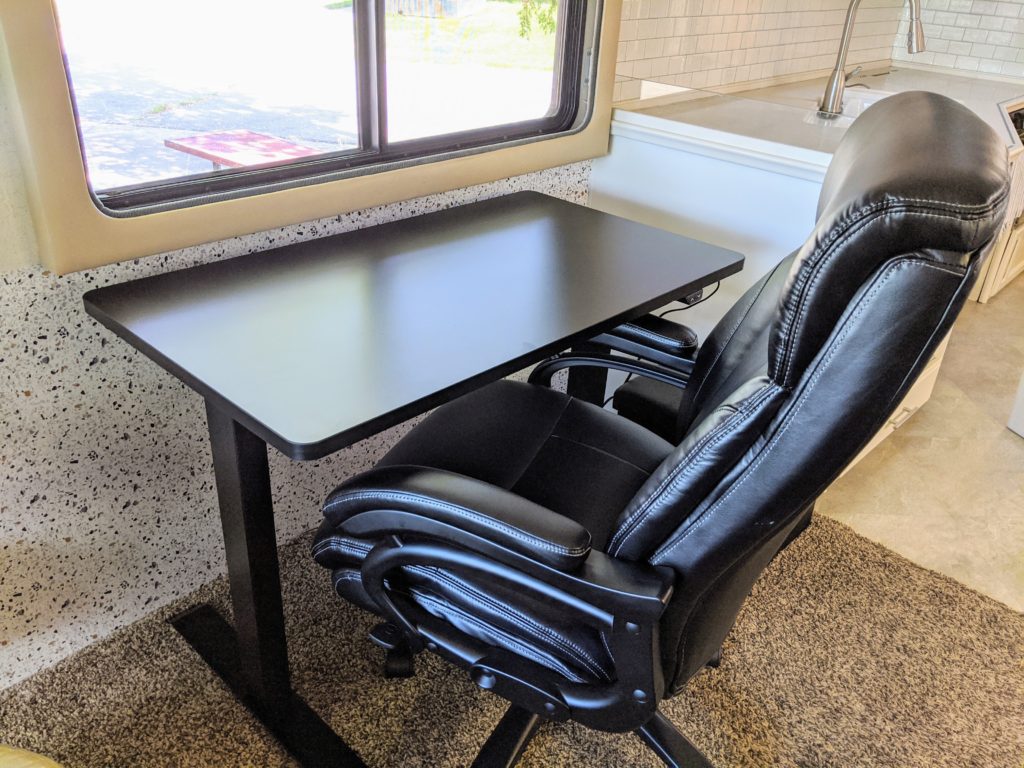
Next to last stop on this tour is the living area. By the way, Gene, a lover of wood, and I reached an agreement about the painting of the cabinets. I bought paint, but you’ll also notice most of the molding and doors were left un-painted. After several days of painting I was thrilled that we decided not to paint ALL the wood!
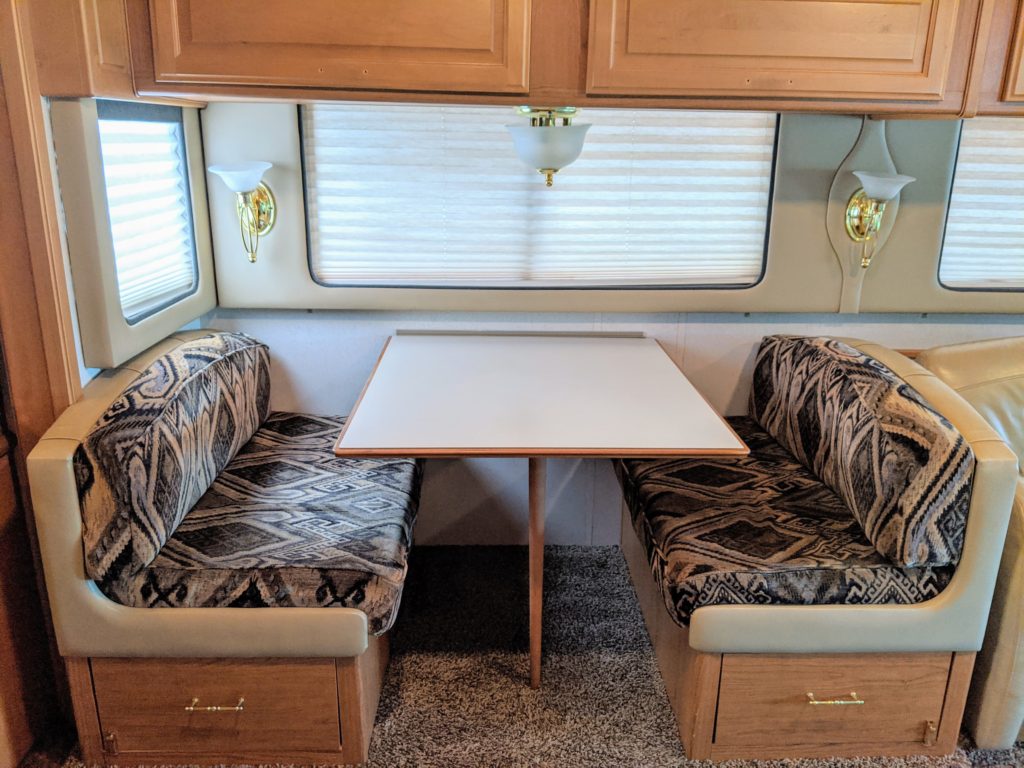
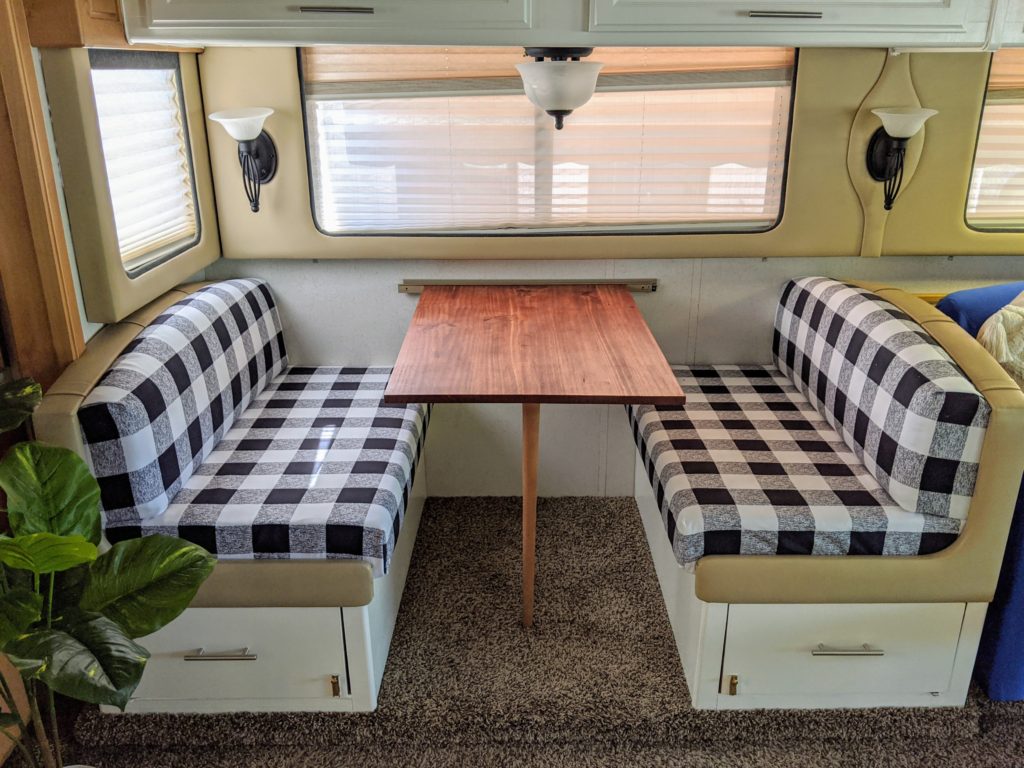
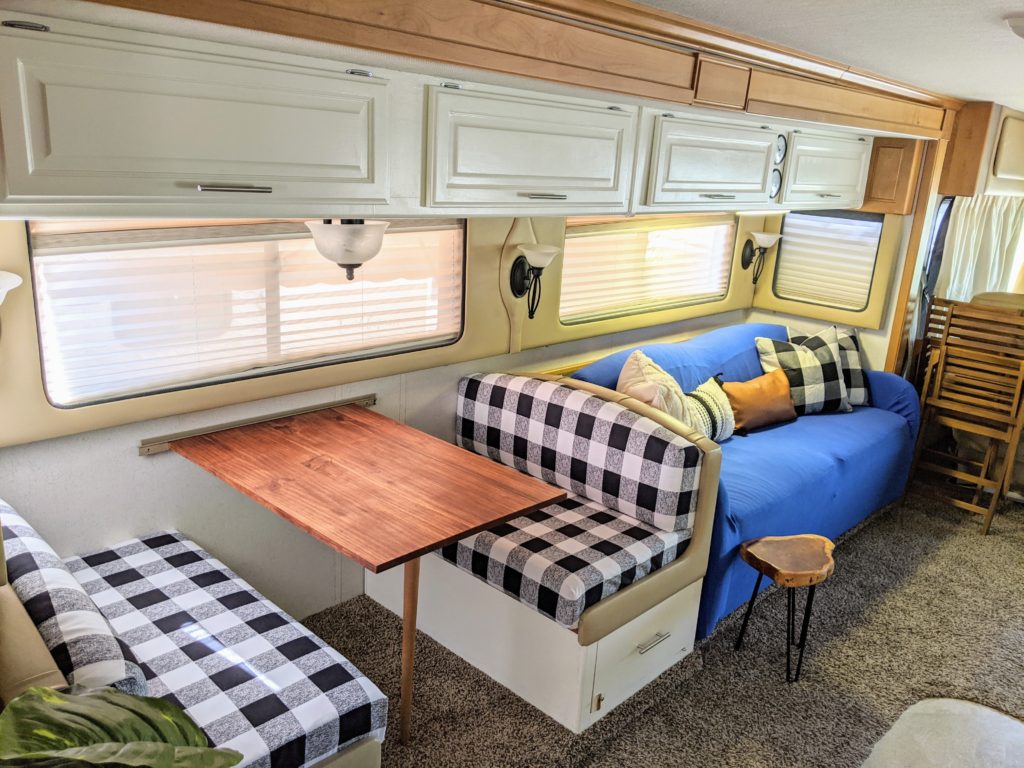
Remember the shower curtain that turned into a cover for the roll down shade in the bathroom? Well, I recovered the dinette seats with a set of drapes! I originally ordered them for the bedroom and I didn’t really like the look in that space. The material was just enough for the seat covers. I’m going to have to remember that trick when buffalo plaid goes out-ot-style. I will also recall how sore my hand was after using the staple gun and the numerous number of staples!
The original table top was so wide it was difficult to sit down even for a normal-sized person. I bought an unfinished smaller table top from Home Depot and finished it using a cognac stain with about six coats of polyurethane. (Picture was from before the polyurethane was applied.) The original table top is stored in an outside compartment as it is used to convert the dinette into a sleeping area.
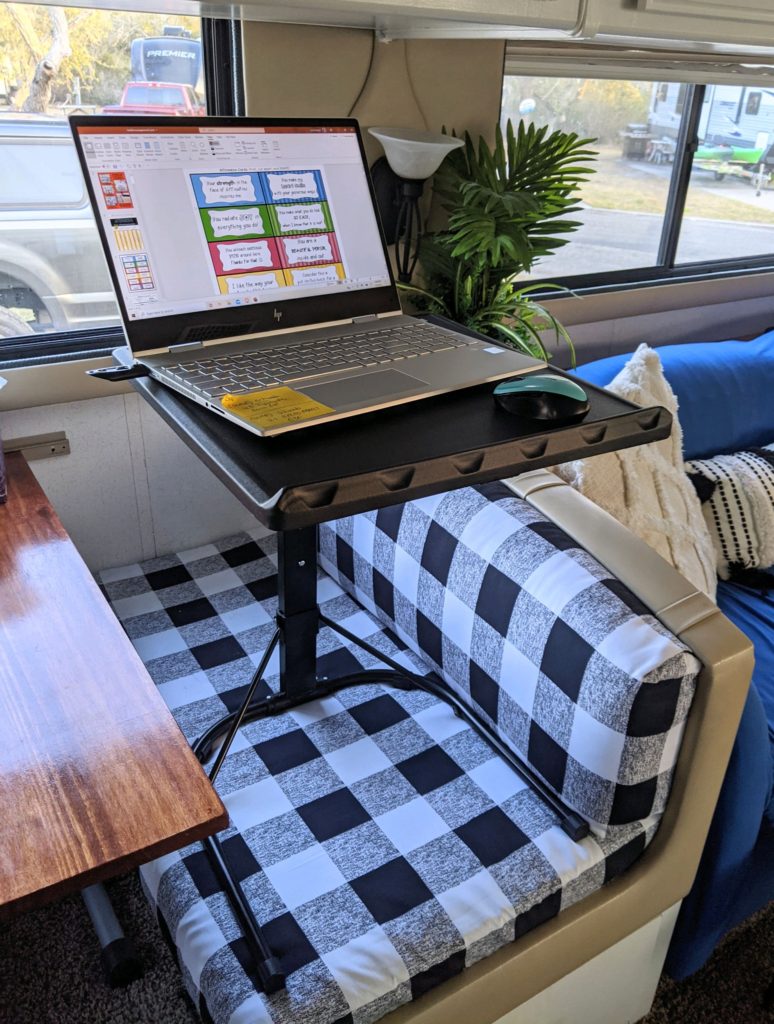
I know many RVers who tear out their dinette, upper cabinets, and replace sofas with recliners. We may eventually replace items, however, the dinette dubs also as my office space and I really wanted to keep the two long drawer storage under there. My sit/stand option is not as fancy as Gene’s (pictured below), but it sure works great! I purchased the black folding table at the local Wal-Mart.
I also have a desk cycle that I bought years ago under the table I can use while sitting. My office supplies are in the cabinets above.
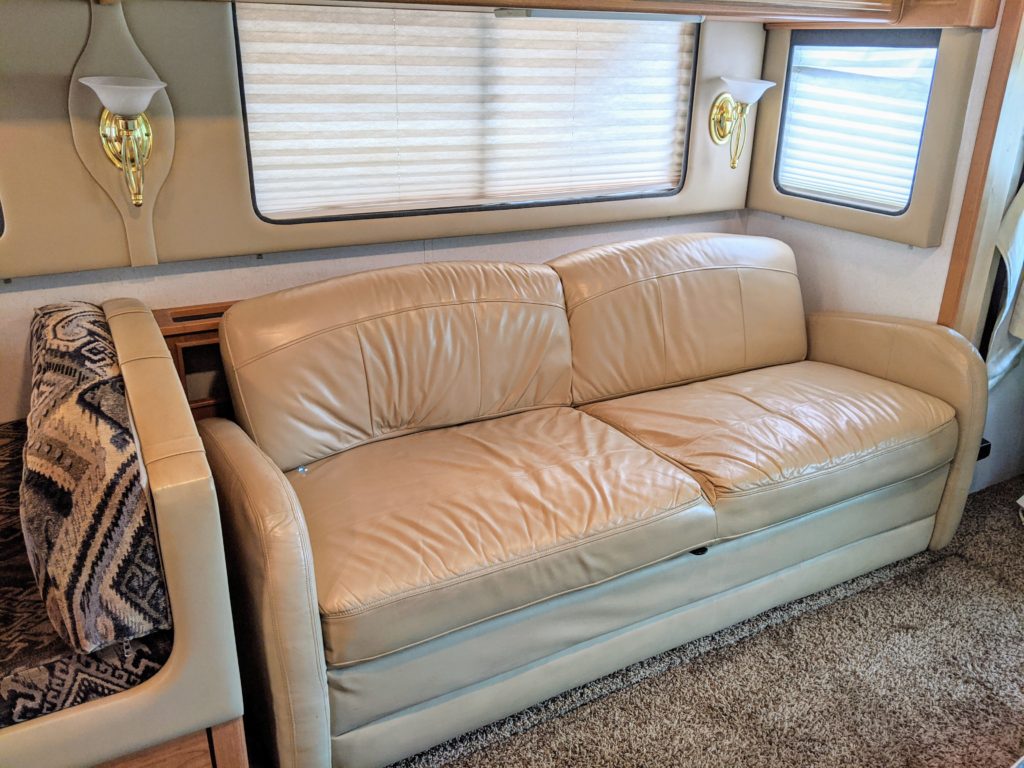
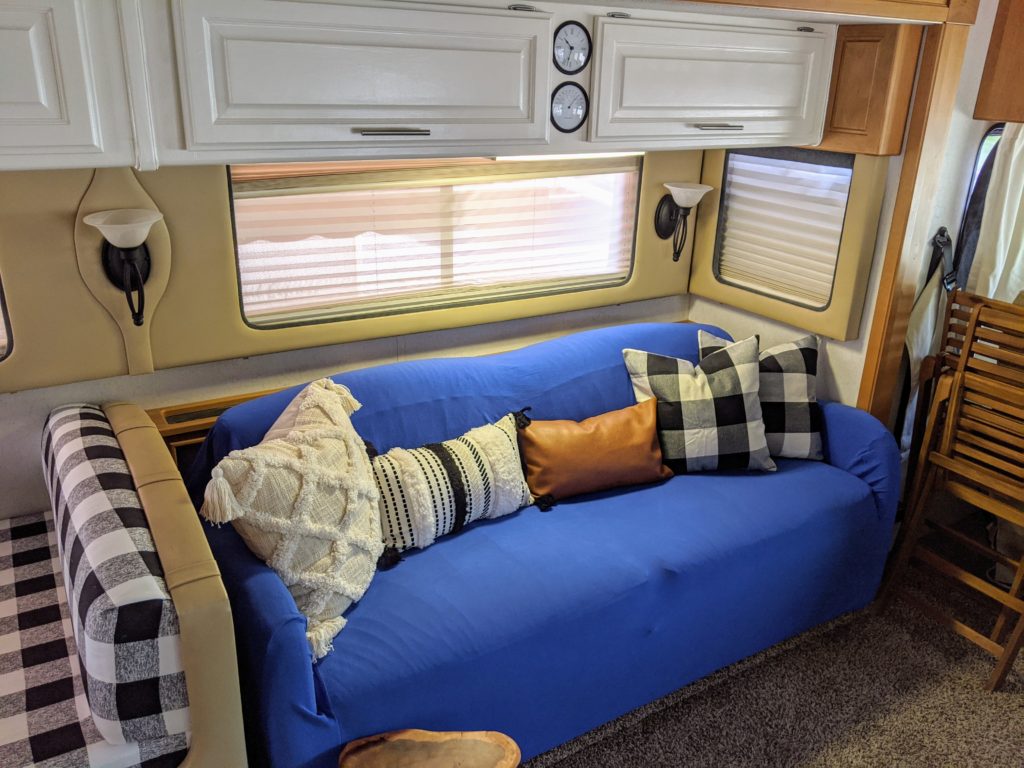
I bought the royal blue sofa slipcover and added pillows for the sofa/couch. Needing a place to sit drink cups, etc. I also bought two end tables. The one pictured is a rustic old wood stump. I didn’t pay any attention to the reviews which many stated that the hardware didn’t line up and you had to drill deeper holes. I was pretty adept at using that drill after removing and replacing all the screws in the cabinets (close to 400 of them!). But I had to tell Gene, if he misses a drill bit in our set, he can find it buried in the wood stump! I guess I was not to adept after all.
The other tall end table is white and sits between Gene’s desk and the kitchen to put our Big Berkey water filter system on. It was the perfect height and width for that space. The Berkey would not fit under the kitchen cabinets like it did in our other rig. We have owned our Berkey for years and use it daily for filtered water so I’m thankful I found that table.
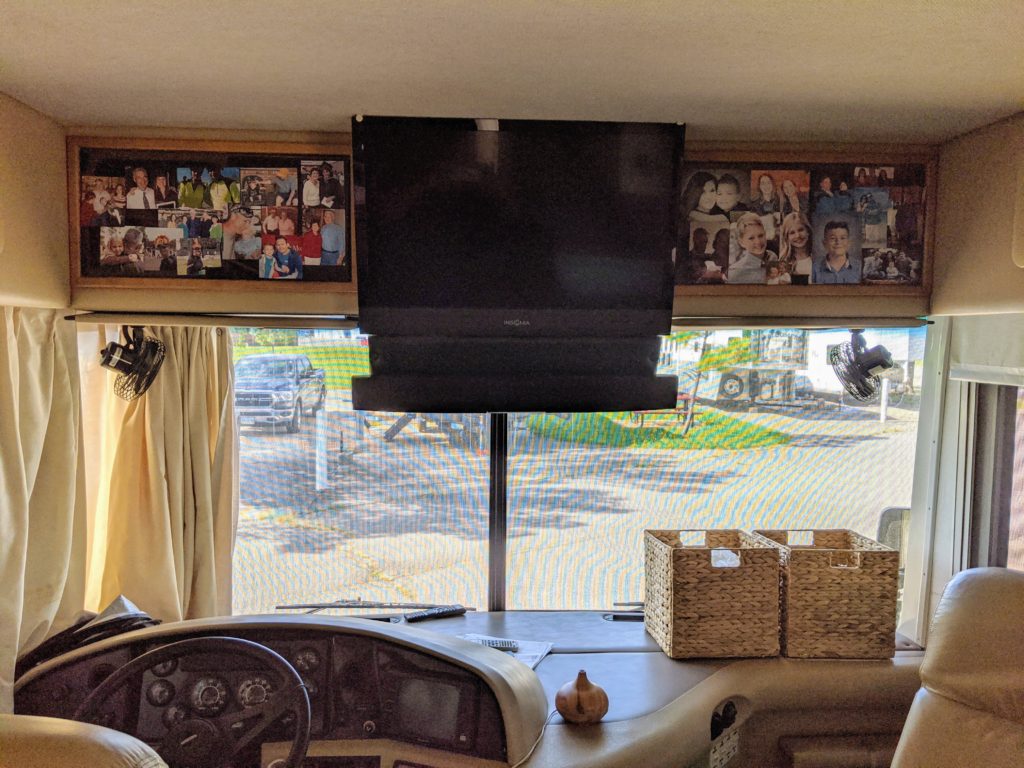
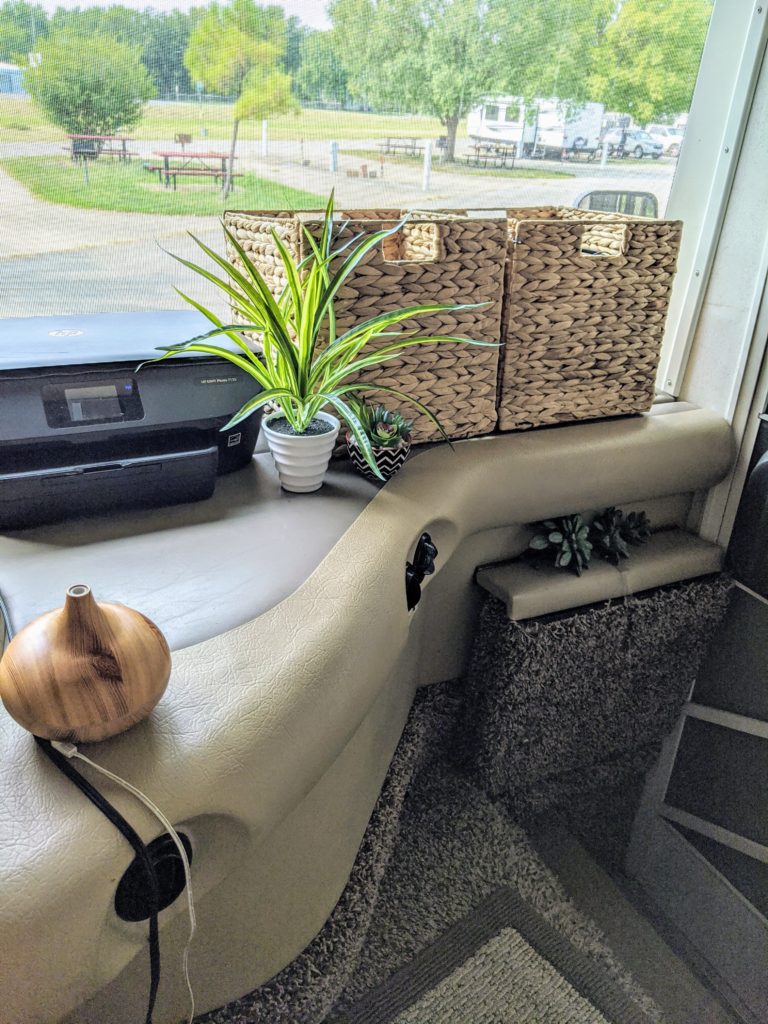
Most RV’s have little wall space for pictures. And I love family pictures! So I created a collage on the cabinet doors on either side of the TV up front using double-sided tape. The extra two baskets from the set of four, I use up front to put board games in. Oh! And the printer for both our jobs gets a home up there also.
An Added Blessing
Last stop on the tour is outside! A surprise to both of us was that our budget allowed us after the RV remodel (approximately a six-week endeavor) to replace and upgrade our vehicle, too. What a blessing! The grandson had to give us a crash coarse on how things work in newer cars (e.g. the heated seats, remote start, etc.). We also replaced the tow dolly for the ability to now flat-tow our Chevy Equinox. Another blessing!
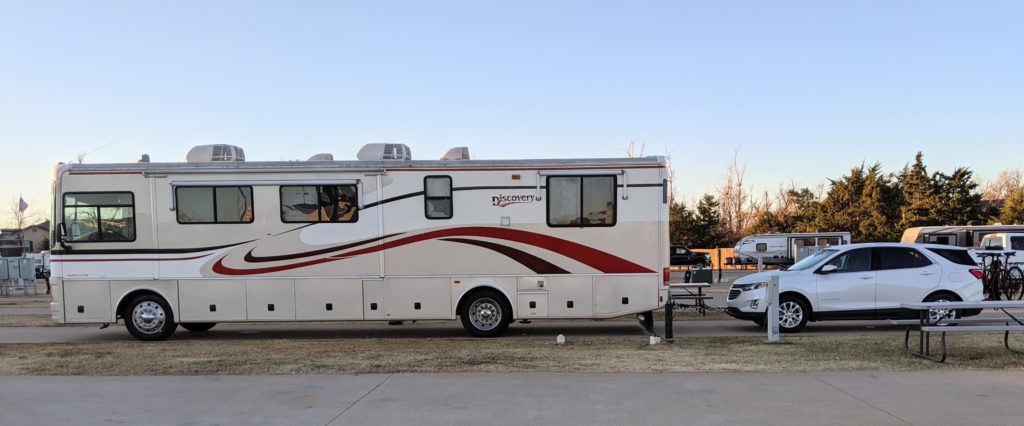
The year 2020 was certainly one of change…and one Gene and I are humbly thankful for.
Have you done a remodel you’d like to share? Tell us about it in the comments.
Lead joyfully,
Gail
p.s. Did you know I have RV digital downloads in my store? Check out the “Trail Mix Greetings”, Christmas cards, the RV Travel Sayings (for 5 different types of RVs!), etc. HERE!


Leave a Reply